
49 Buick tail lights for the 41 Cadillac
Last post I had finished the frame modifications and the bottom of the body, with that done I put the body back on the frame and started to fit the dash, wiring harnesses, seat belts and rear fenders.
 I could not find any body to frame mounting pads so I made my own out of conveyer belt material (found this belt material on Amazon) cut them out on my band saw and drilled holes for each location.
 The floor pan insulation mats were reinstalled then the A/C aluminum structure, that is also the main support for the dash and all the dash mounted components, was cut down about 3" on each side then bolted in to the original firewall mounting studs.
 The support brackets were reinstalled, the front one is also the center console support.
 The dash also had to be cut down 6" as the 07 is wider than the 41. I put the center console back in to make sure it all fits.

 The drivers door was put on to check how much clearance there was between the door and end of dash I made it 1.5 inches.
 With mocked up ends of the dash in place, end plates were fabricated to close the end of the dash that will be covered with upholstery.
 A closure plate was fabricated to close the gap between the dash and the bottom of the 41 windshield.

 I cut the seat belt mounts out of the 07 and welded them in to the center post of the 41 and installed the retractable seat belts.

 These two pictures are the back side of the 41 rear fenders that show the rust damage to the mounting tabs, that have been repaired.


 These 49 Buick tail light housing's and three new lens (still in the original Buick boxes) I have had since the early 60's that I was going to install in my High School 1950 Ford.

 Two more cardboard mock ups just to make sure I wanted to cut up the 41 fenders and not use the original tail lights, that are in very poor condition.

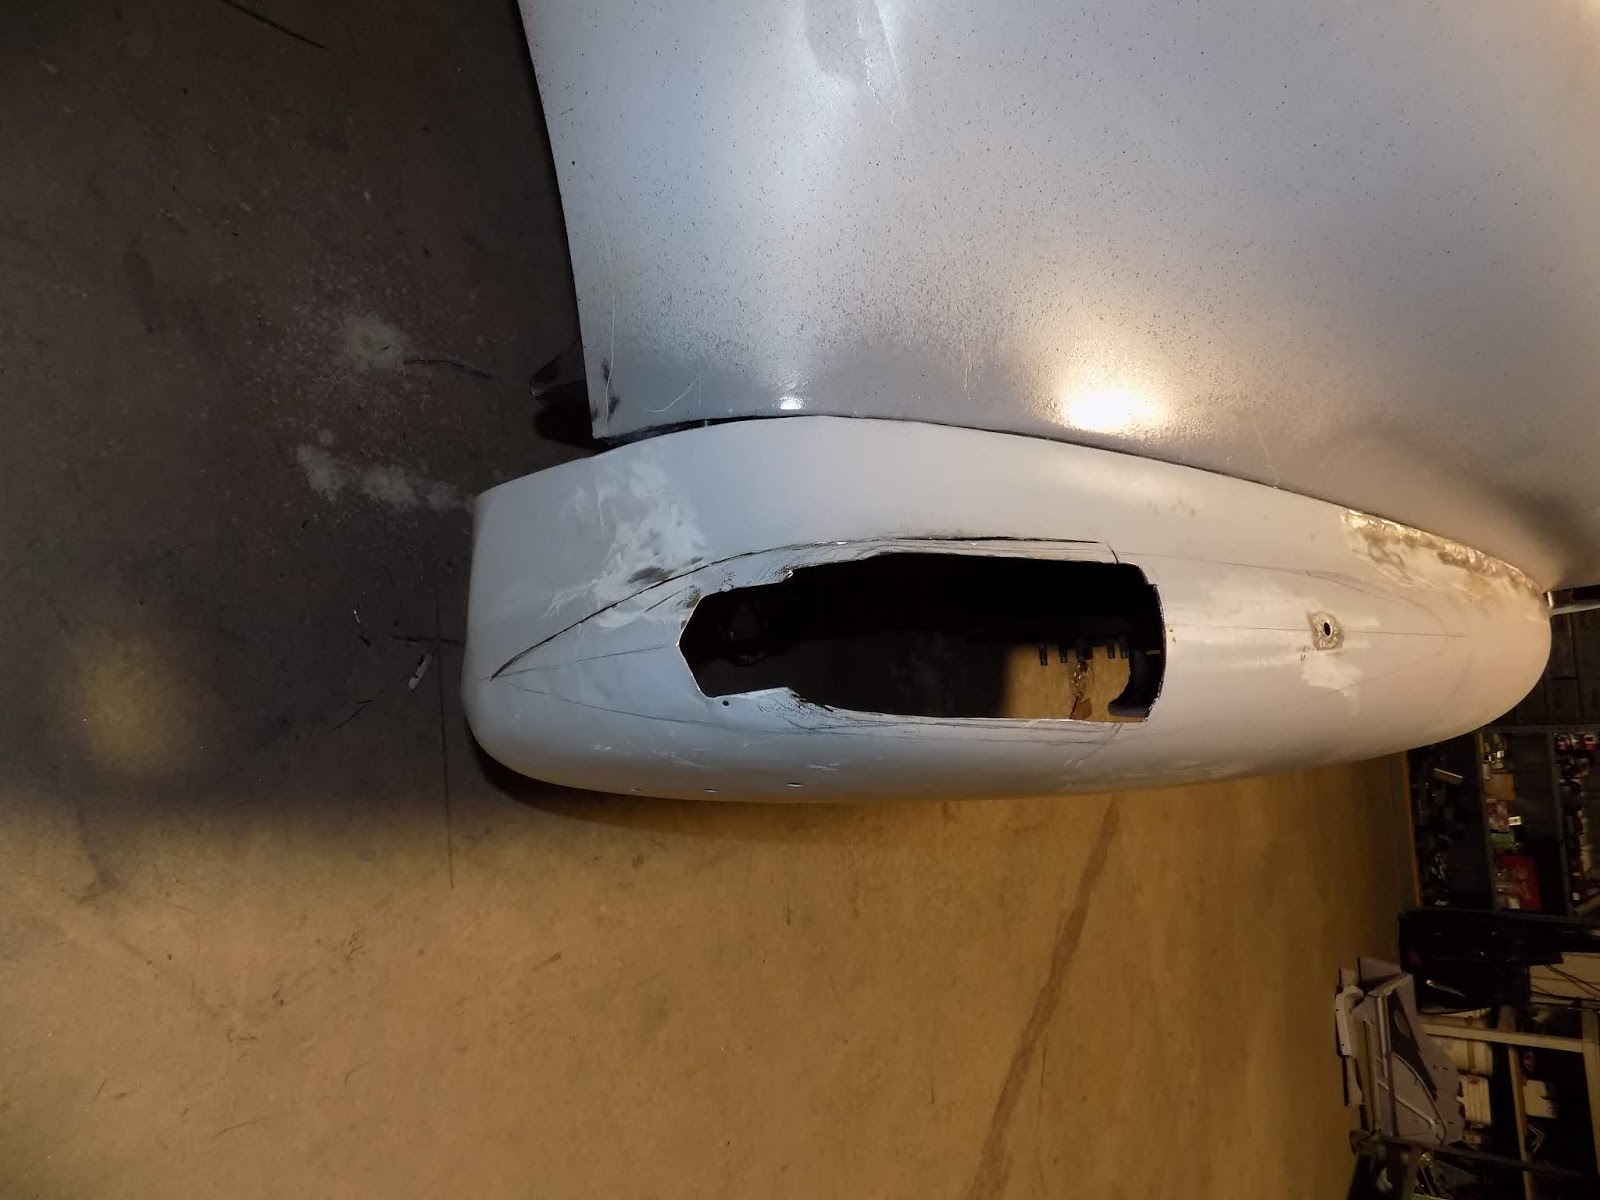
 Patterns were made of the bottom of the tail light housing and pieces cut then bent to fit.
 With the fender cut out the bottom of the housing plates were spot welded in.

 Here you can see the outline of the areas that will be cut out to receive the new hand formed pieces. Below are the mounting brackets that were made and welded in

 On the left fender the top piece was welded in first then the lower piece. These two pieces took a lot of hours to hand form.
 Inside the fender with new pieces welded in place and the mounting brackets.


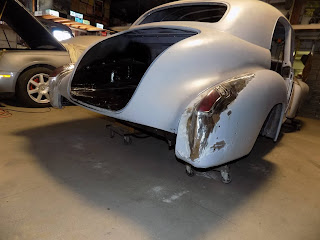
 Have not done the hammer and dolly work yet but I wanted to see how the new tail light looked on the car, the three pictures below.


 On the right side I fabricated the lower piece first and it went a little better.


 With no metal forming tools except a couple of jigs I made, a vice and hand tools I was not able to get the new pieces fit and bent to where they fit the compound curves properly and had to fit and weld as I went to get them in place.
 Both fenders still need a lot of work but I really like the 49 Buick tail lights they look smoother and flow better with the shape of the fenders.

 Both fenders back on the car with a lot of work still needed but at this point I need to move on and tackle the doors next.


The wiring harnesses were laid back in along with the under seat A/C ducts.


Drivers side dash end plate.


This is the cardboard mock up of the 49 Buick tail lights that I wanted to install.


I marked the fender where the cuts must be made.


Cardboard patterns were made that will be used to cut the metal out.


Pre fit the housing with the chrome in place.


Left fender welded and ready for hammer and dolly work.


Right side marked up for the cuts.
Made the mount brackets.


The upper piece was done second.


Comments
John Gregg, Summerland B.C. Canada
Cheers, John