
CADILLAC BODY & FRAME
When the rear end assembly was bolted in place; the rear suspension's arms in the up position, were very close to the frame so I made the decision to "C" notch it. The rest of the rear assembly components fit past the frame and into the body, and the trunk floor pans had to be made .
 Before I took the body off the frame the trunk had to be fabricated and I started by welding 3/4 X 3/4 square tube to the body supports at the front and back of the trunk.


 A paper pattern was made of 1/2 of the trunk floor as that is all that would fit through the trunk opening as the new floor pan is 4' X 5'.
 Then a 18 gauge steel floor pan was cut using the paper pattern with holes drilled in it for spot welding to the tube supports.


 A brace was made from Unistrut and bolted to the frame in 4 locations.to hold the front and back in place when the frame is cut.

 The first piece of the frame 1/8" metal was welded in place on the opposite side from the support then the frame cut and removed.


 Same process was used on the left side you can see the removed piece of frame that is moved up and reused in the notch assembly.

Both side plates and the reused piece of frame bolted and clamped in place to be welded. Filler plates will be made, front and back, to complete the assembly.


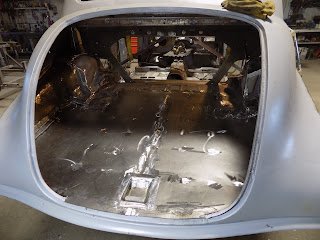
 These two pictures show the rear wheel wells with the excess 41 rusty metal cut away and the welding finished including the bottom of the floor pans.

 With the body on the rotisserie and the frame under the hoist the next step is to paint all the bare metal with self etching primer then spray the under side of the body and wheel wells with bed liner material.


All the rusted metal was cut away.


Right and left side with all the square tube in place.


Finished floor pan with the new trunk latch box (at the rear).

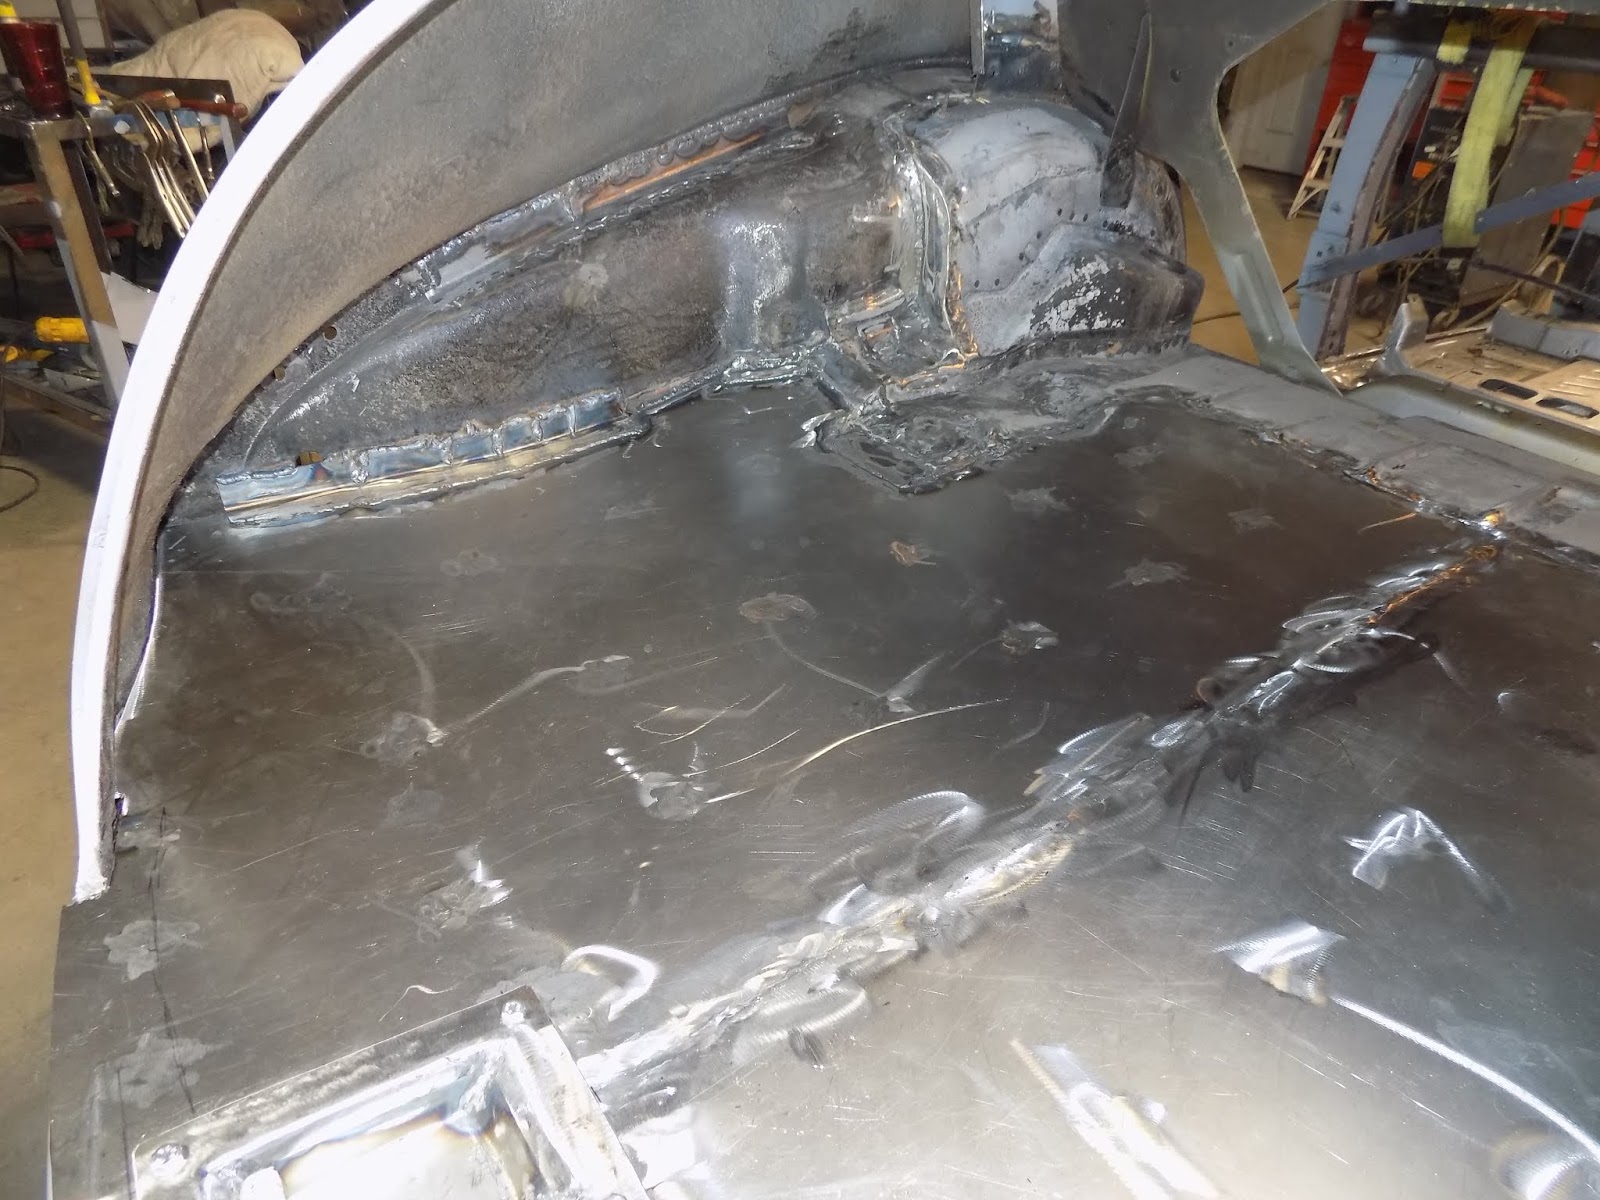
Right and left sides of the finished floor pan.

This is the trunk latch box before.

This is the before and after latch box assembly.

Once the trunk was done the frame notch for suspension clearance could be done.

These two pictures are of the left side showing the upper arm hitting the frame.

This is the right side with marks on the frame where it needs to be notched. The marks on the wheel well is where it will be cut to remove as much of the 41 rust as possible.

Body being removed from frame.

Frame with marks where it needs to be notched.


Then a cardboard pattern was made with the 3" notch.


Right side with floor stands under frame for additional support.


Two pictures of the completed right side now for the left.


Another angle of the to be welded assembly.


Above and below is the completed frame notch.

The body on the rotisserie.


Comments