68 Mustang #16 Project almost complete
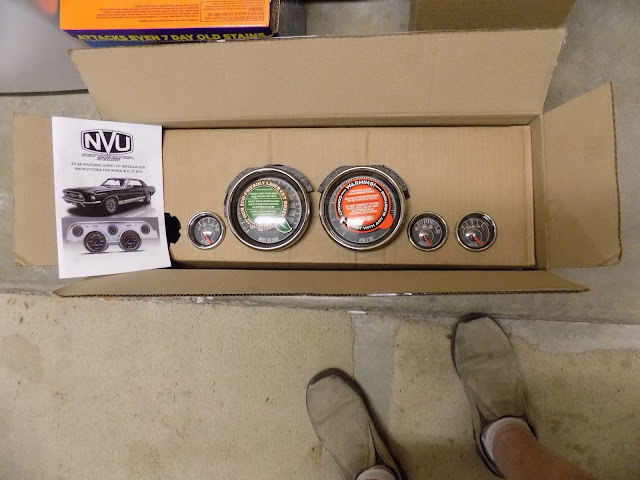
The project is almost complete as far as I want to take it at this time. It needs some body work and paint, front grill assembly and wheel alignment. I will get the wheel alignment a little closer, then it can be driven. I've had the car for a year and did not spend a lot of money on it as it came with a lot of parts, some usable some not and some needed to be altered, that was a good challenge. The new bearings, crush sleeve and spacers came and the rearend pinion assembler was rebuilt.
I started a new project to keep myself busy and got out all my stained-glass tools and supplies to make a stained-glass window for the south side of the caboose (If you search my blog for caboose, you can see the complete build).Step one is to draw a picture of what you want the window to look like, I chose cranes, clouds and mountains.After some changes the drawing was transferred to a clean sheet using carbon paper.
The glass came in 12' X 12" sheets and were laid out on the picture the sun rays were added to match the cuts that would be necessary and to try to avoid small pieces. The window is laid out on a piece of plywood with a frame the size of the window. Then the zinc channel edge is cut and put in place and that will determine the size of the stained-glass.
The final version of the picture is transferred to pattern paper, available at stained-glass suppliers, using carbon paper. The patterns are cut using pattern scissors that allow the space between the pieces of glass for the copper foil. The patterns are glued to the selected colors of glass using a glue stick.
The glass is cut with a glass cutter as close to the pattern as possible with the more difficult cuts made using a diamond blade band saw.
the next step is to grind each piece of glass as close to the edge of the pattern as possible using glass grinders like the ones shown below.
The cut and ground pieces are laid out on the pattern then fit together by more grinding.
After the glass parts have been fitted as close together as possible the copper foil is put around the edges using a board Similar to this one. You can see the copper foil on the blue glass above.
If there is any interest in this stained-glass project that I started please leave a note to me in "comments" on my blog and I will show the next steps and completion of this window.


Comments