I did not like the stance of the car, so I adjusted the front coil overs and lowered the front 3". Lowered stance not shown - I'll get a better picture. I put the car on skates and moved it to the car hoist, had to use a cable come-a-long as I did not have enough oomph in me to push it.
With the car moved to the hoist the exhaust system was next on the agenda. Below are the parts that I had to work with, Muffler's (2), exhaust cut out system the is left over from another earlier project and 6 adapters that were purchased from Amazon. The mufflers that came with the car have 3" inlet & outlet, why the previous owner bought them is a mystery, so they required 3' to 2' adapters. The header flange required 2 1/2' to 2' adapters.
The different components were mocked up under the car, spot welded then welded up on the pipe vice.
with on side complete the same procedure was followed for the other side.
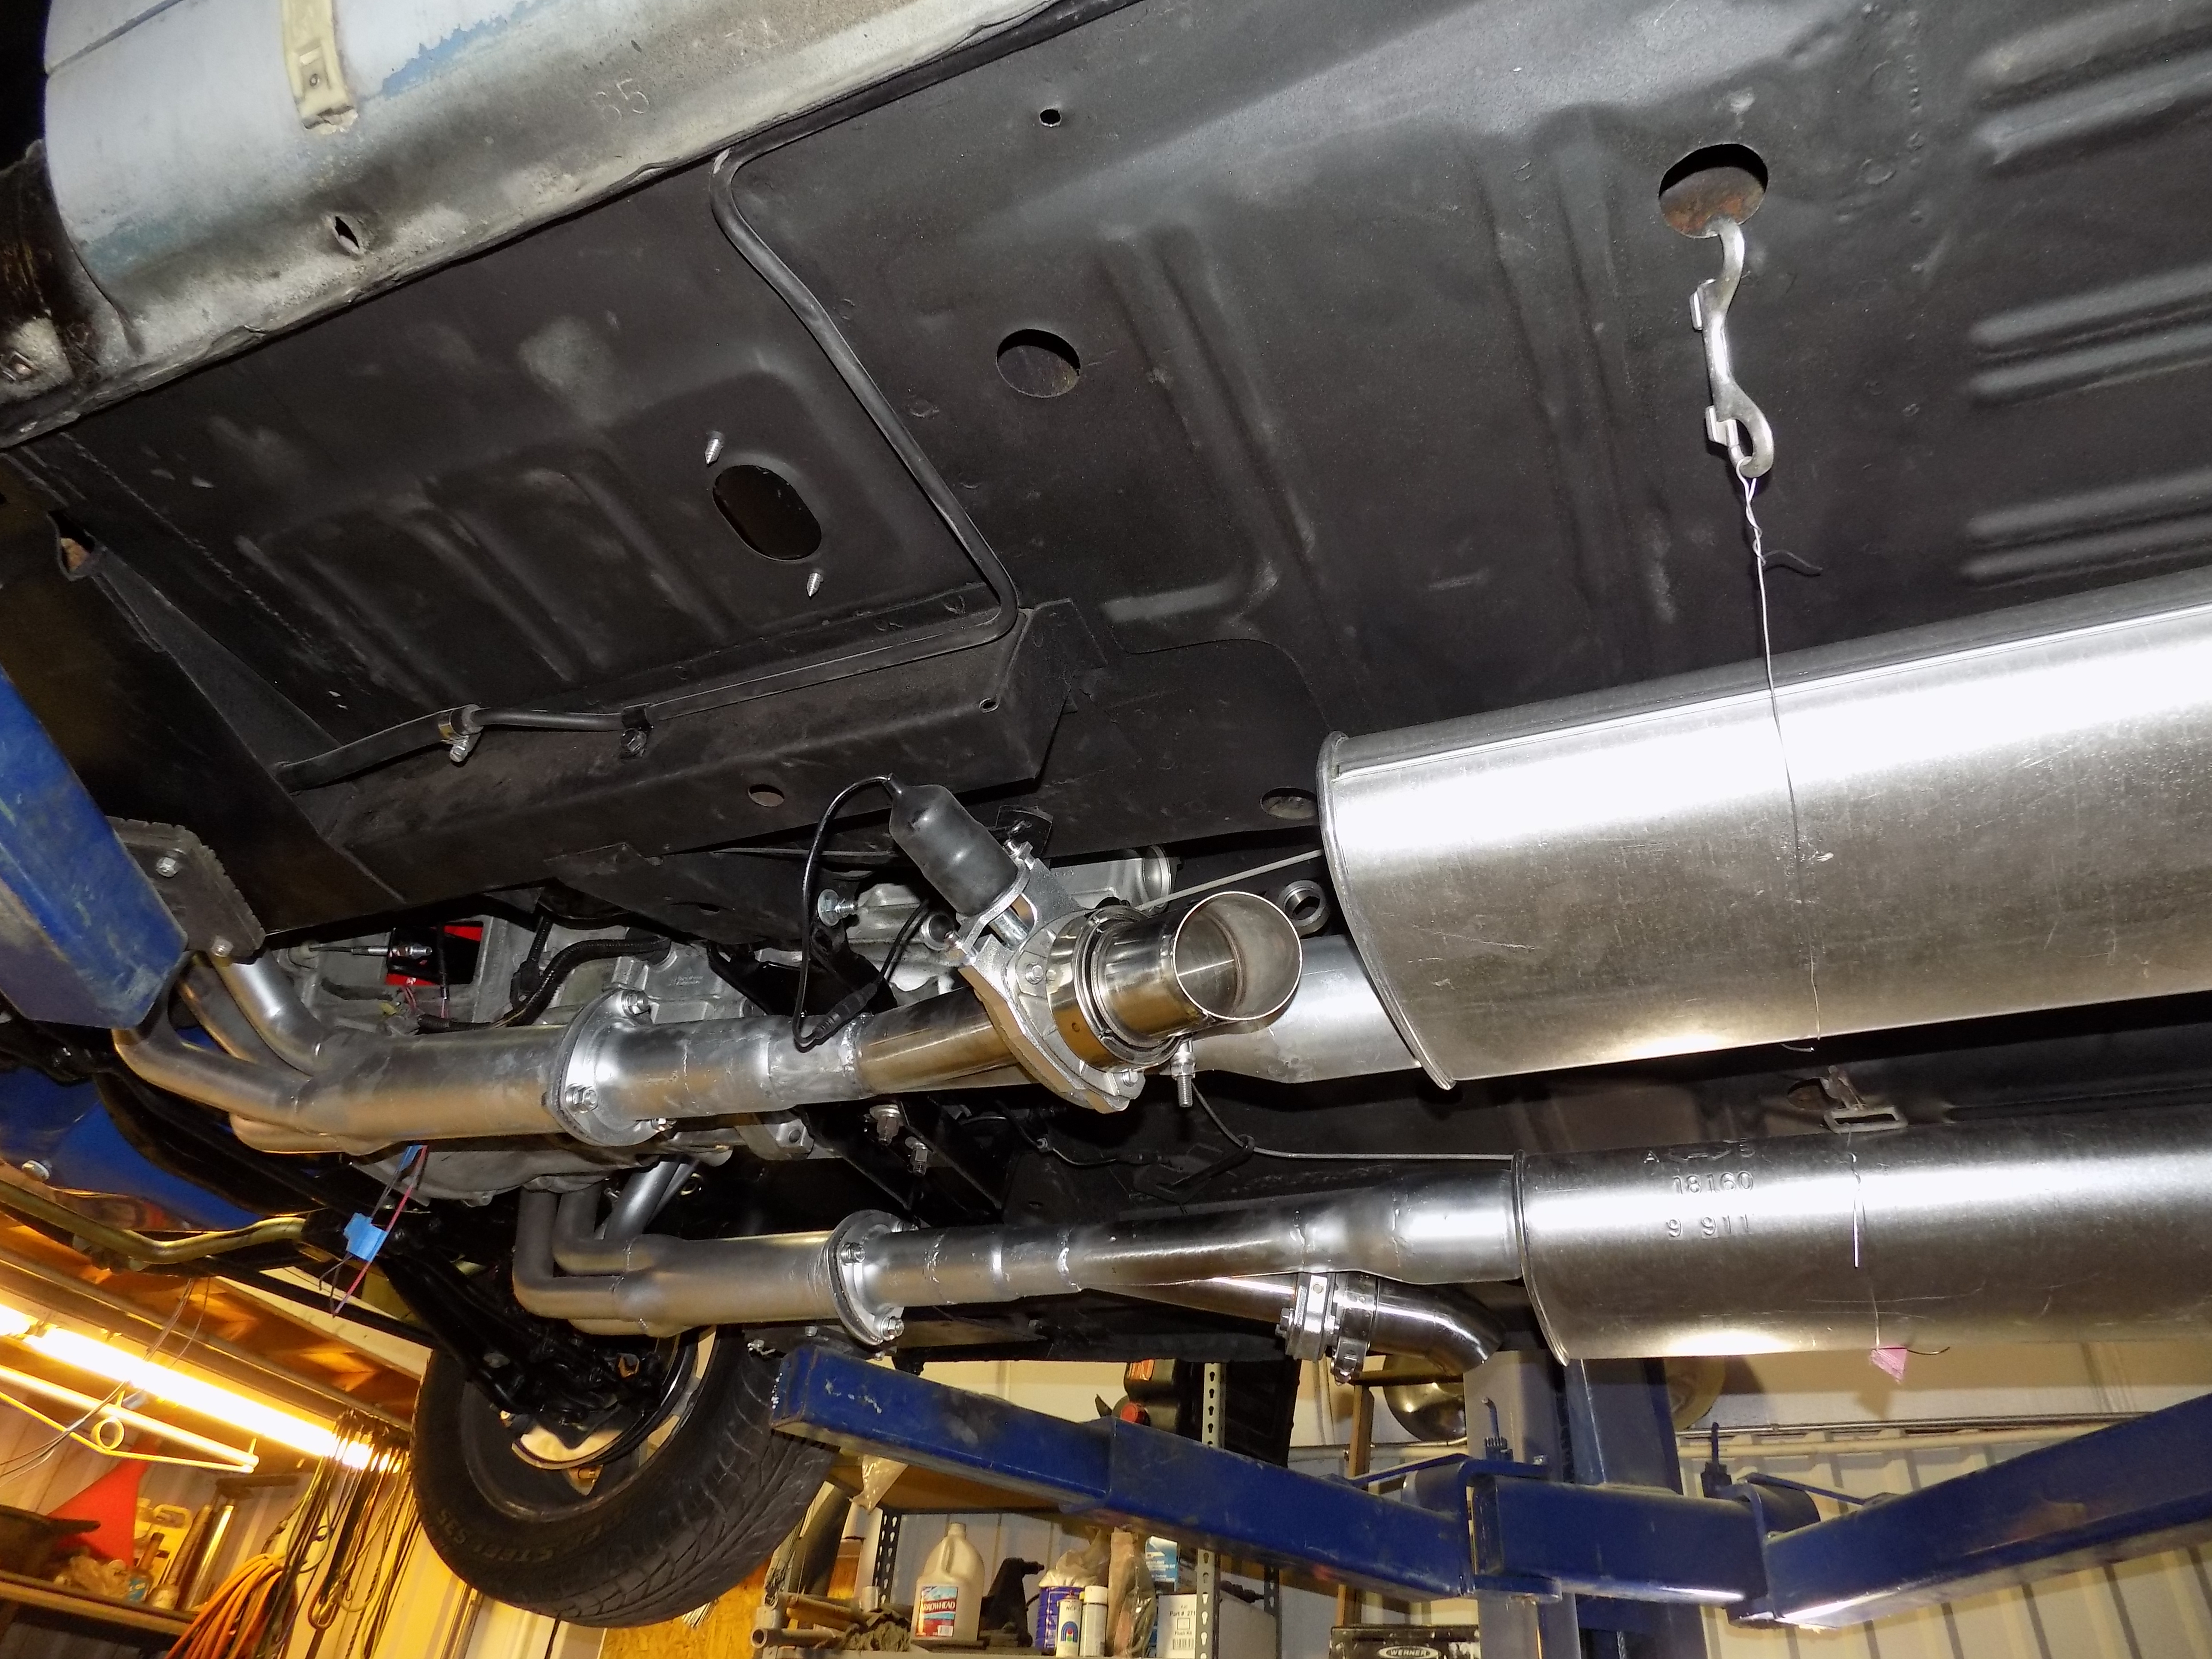
The exhaust is lower than I would like it but the headers set the height. The assembles were strapped in place so hangers could be made.
The cut outs are operated with a 12-volt Motor that opens and closes the butterfly you can see inside the down pipe. I have to order the tail pipe components, when we can afford it, to complete the exhaust system.
The new pulleys were installed then the radiator only to discover that the 92-water pump did not match the 68 radiator.
Below are the 68-water pump (left) with return hose on the passenger side, the 92-water pump (right) has the return hose on the driver's side. the radiator is passenger side return.
These pictures are a little blurry but you can see the end result of the water pump fiasco. After I changed out the 92 for the 68 water pumps and put the coolant in the 68-pump leaked and a new pump had to ordered and the front of the engine taken a-part and put back together for the 3rd time.
The padded dash was put back in place and the wiring harness straightened up with the wire marked and ready for the new gauges that should arrive this week.
A switch panel was made for the radio bezel for the exhaust open/close switches as the electronic control that came with them did not work so I made my own.
The dash is almost complete, once the gauges get here, I will be able to finish the wire connections and start testing things out. Still having fun and staying busy even with the setbacks
but that's hot rodding.


Comments